In a previous post, the process for creating an Ubuntu VM through Microsoft Azure was detailed step by step with the result of gaining access to the Linux command terminal. This post takes the process one step further in demonstrating how to achieve a remote connection to the Linux desktop environment.
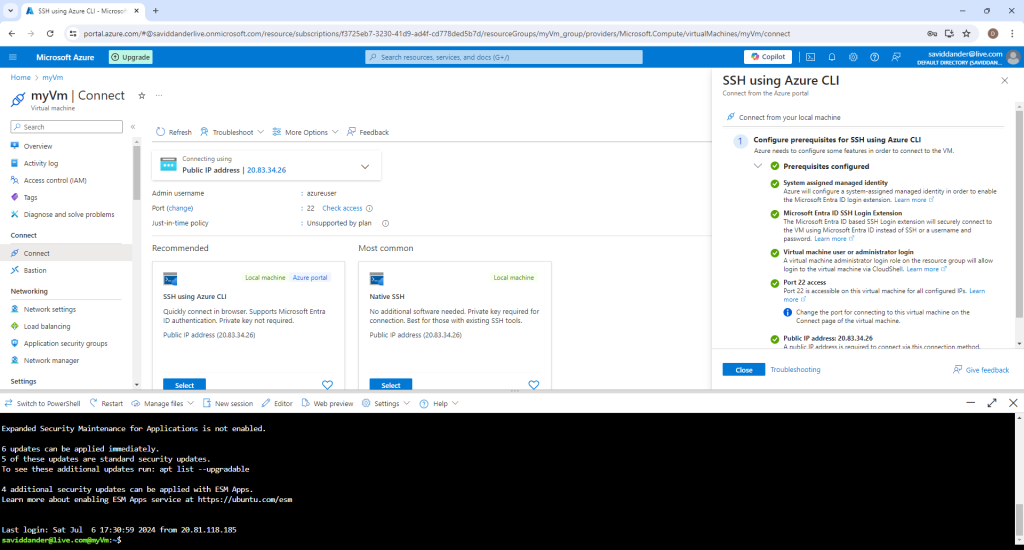
- Step 1: Connect to the VM through the Azure portal to open a Linux terminal.

It is necessary to operate as root user to install and configure XRDP to allow for a remote desktop. Type “sudo su” in the terminal and hit enter to achieve this.
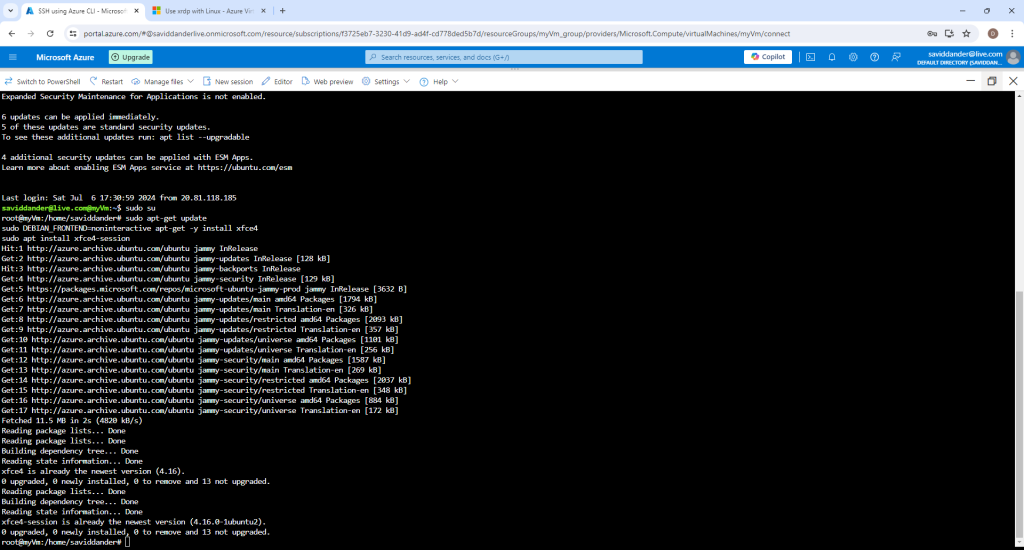
The below image shows how it will look when you have root access

- Step 2: Copy the following commands to install XFCE on your VM (This is your desktop environment)
sudo apt-get update
sudo DEBIAN_FRONTEND=noninteractive apt-get -y install xfce4
sudo apt install xfce4-session
The terminal should display similar results as seen in the screenshot below after running the above commands

- Step 3: Configure the remote desktop service with the following commands
sudo apt-get -y install xrdp
sudo systemctl enable xrdp
It’s necessary to provide SSL certificate access for XRDP . To do so, use the following command
sudo adduser xrdp ssl-certNow configure XRDP to use the XFCE desktop environment with the command below
echo xfce4-session >~/.xsessionLastly, restart the XRDP service to allow the previous commands to take effect using the following
sudo service xrdp restartStep 4: Connect to your Linux VM with RDP
A local user account for your VM is required to login through the Remote Desktop Protocol. The default username is “azureuser”. A password can be created for this username by running the following command
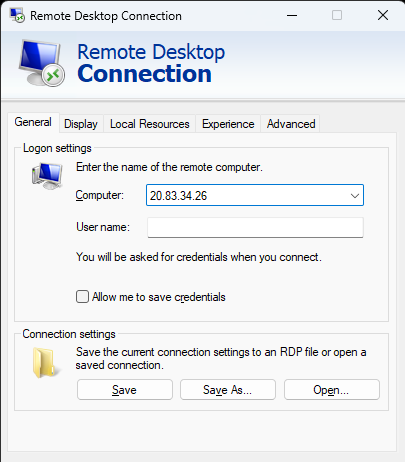
sudo passwd azureuserOpen RDP on windows and enter the IP address of the Linux VM (as shown below)

Click “Connect” and the following screen will be displayed

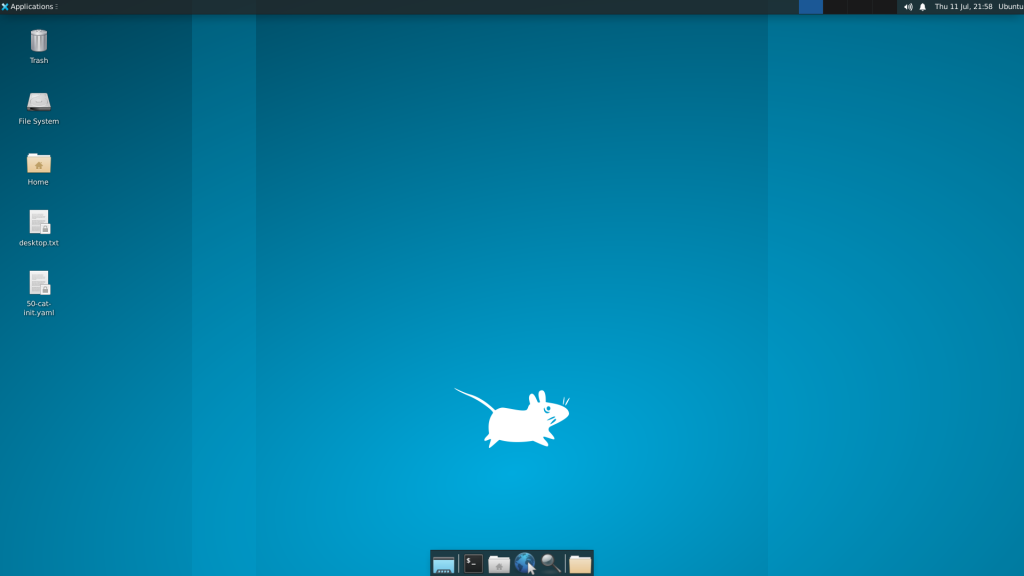
Enter the username “azureuser” and the password created at the beginning of this step. Then click “Ok” and the Linux Desktop should appear as shown below

